
Selling and Buying Shoes on an Online Shop
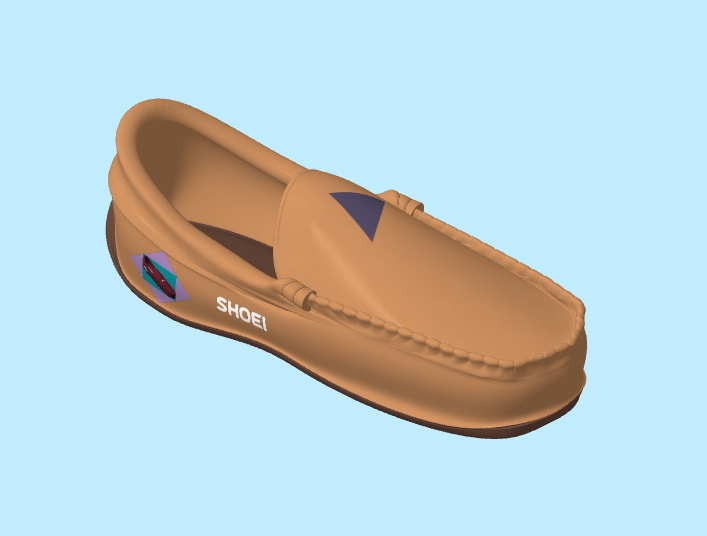
Imagine you own an online shoe shop. One of your products is a customisable pair of shoes with multiple parts that have different colour options that customers can choose from. You want to show the customisable shoes in 3D on your online shop – a WordPress Woocommerce website and allow customers to pick colour options for the different parts before adding the product to the shopping cart.
Subscriber – Shoe Shop Owner
- Get a 3D digital model of the shoe made.
- Create the Woocommerce Product – Shoe on your WordPress site.
- Subscribe to our Online Product Configuration Service (OPCS).
- Login as a Subscriber on OPCS.
- Import the shoe.
- Create the desired viewing position and parameters.
- Create a palette of available colours for the product.
- Add desired Text, Polygons, and Logos.
- Adjust colour options through colour masking.
- Generate the e-commerce link of the product for use on your WordPress site.
- Create a landing page on your site, and use the e-commerce link for the product.
- Download the OPCS plugin, and install and activate it in WordPress.
- Open your online shop to your customers.
Shopper – Customer
- Visit your online shop, i.e. your WordPress site.
- Open the landing page.
- Click on the e-commerce link to open the configurator of the Shoe.
- Configure the colours of the parts of the shoe.
- Configure the texture and text of parts of the shoe.
- Add the product to the shopping cart.
- Place the order and complete the purchase.
Signing Up for our Online Product Configuration Service (OPCS)
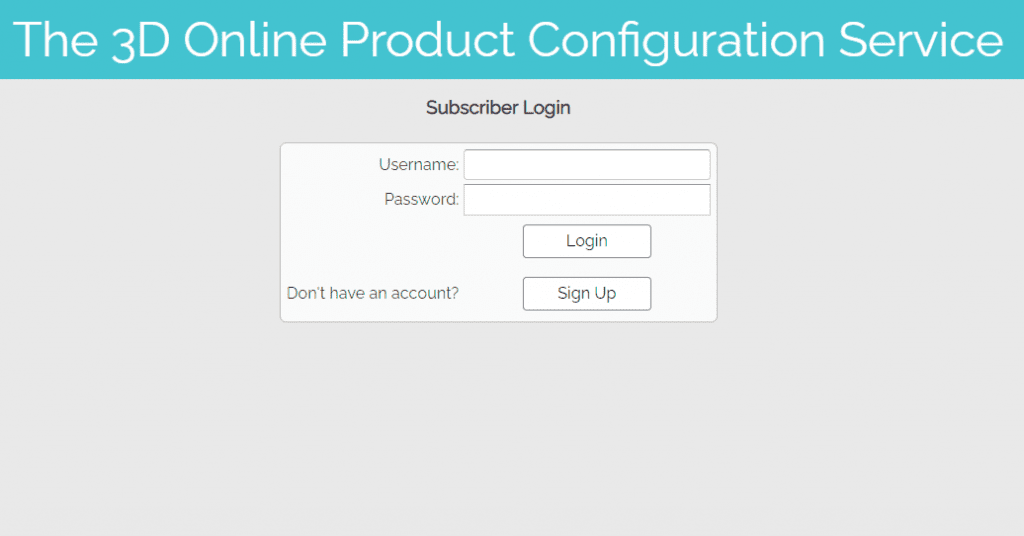
- Start OPCS. You’ll be greeted with the login page:
- Click the Sign Up button:
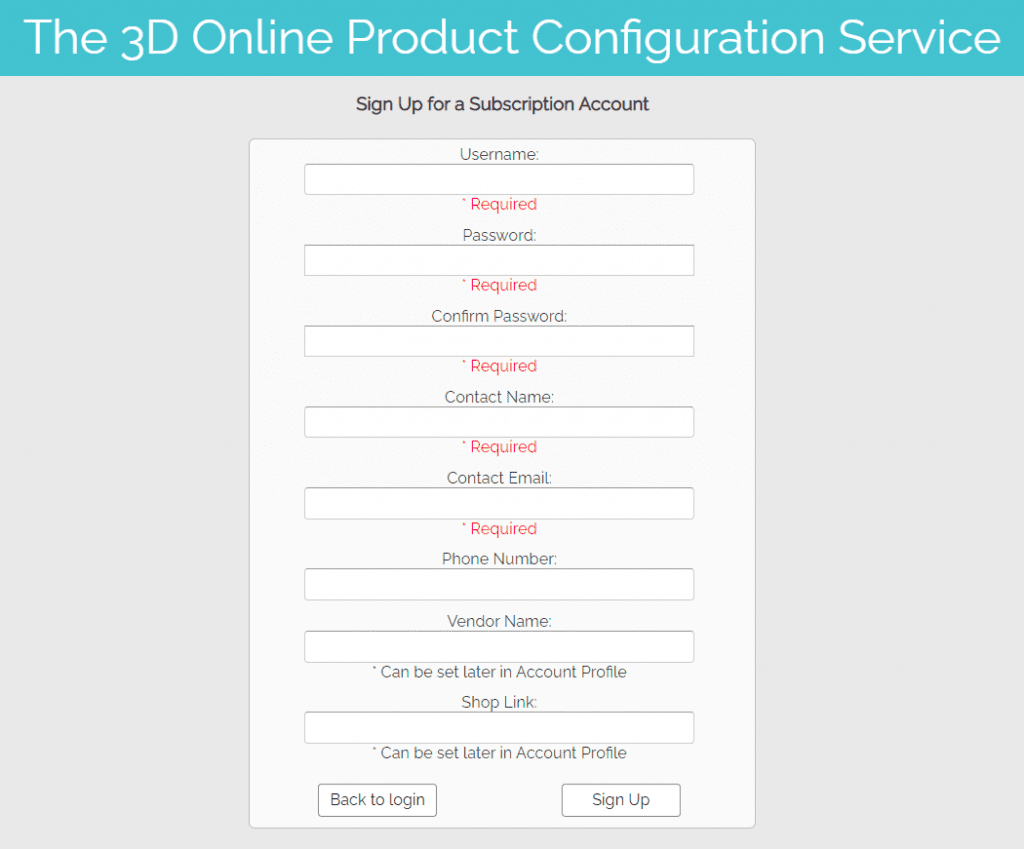
- Fill out your details. Username, Password, Contact Name, and Email are required but Phone Number, Vendor Name, and Shop Link can be set later
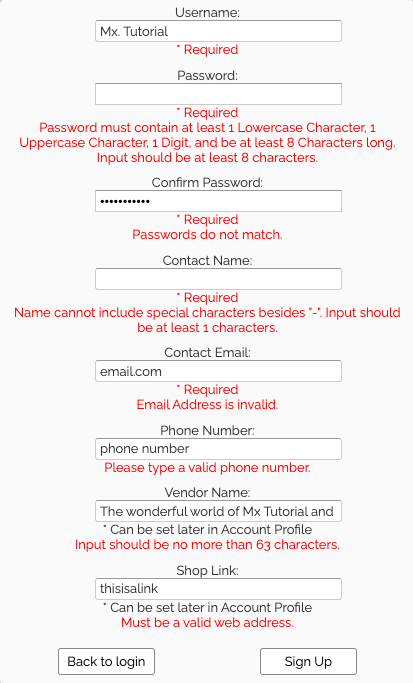
- Username, Password, Contact Name, Email, Phone Number and Shop Link all have validation requirements.
- Detailed warnings will show beneath the textbox if the entered details do not match our requirements.
- Character limits are also in place for some boxes. If the required information is not valid, signing up will not be possible:
- When you’ve entered the required information, click Sign Up again. If your username is available and details valid, your account will be created and you’ll be logged in to OPCS:
Editing your Profile
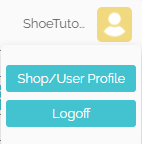
- Click the User icon in the top right corner:
- Click the Edit User Profile button:
- Here you’ll be able to edit your account details:

- To sell through the Oakhouse Software shop, select the Use Oakhouse Software’s Shop button.
- When you’re happy with your changes, click the Close button to save them
Importing a new model using our Online Product Configuration Service (OPCS):
- Start OPCS.
- If not logged in already, sign up to the OPCS using the sign up page.
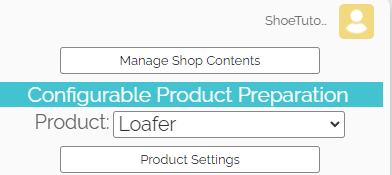
- You should be greeted with the Subscriber frontend:
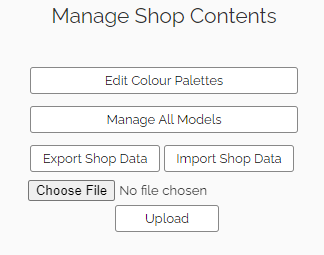
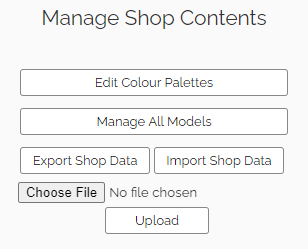
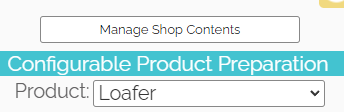
- Click on the Manage Shop Contents button:

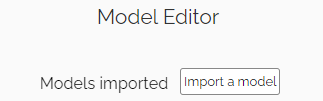
- Click on the Manage All Models button:
- Click Import a model:
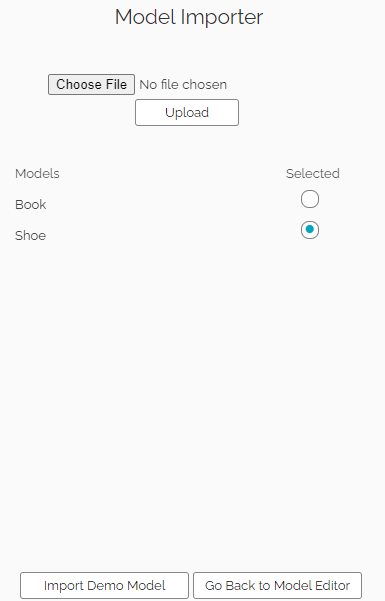
- Select the Book Model or Shoe Model.
- In this tutorial, we will select the Shoe Model.
- Then click the Import Demo Model button to clone them directly to your shop:
- Or, Download LoaferV5.zip from our downloads page.
- In Model Importer, click the Choose File button and locate the LoadferV6.zip file:
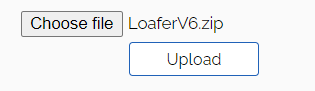
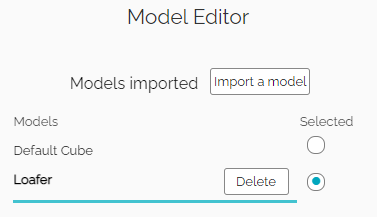
- Press the Upload button to import the model.
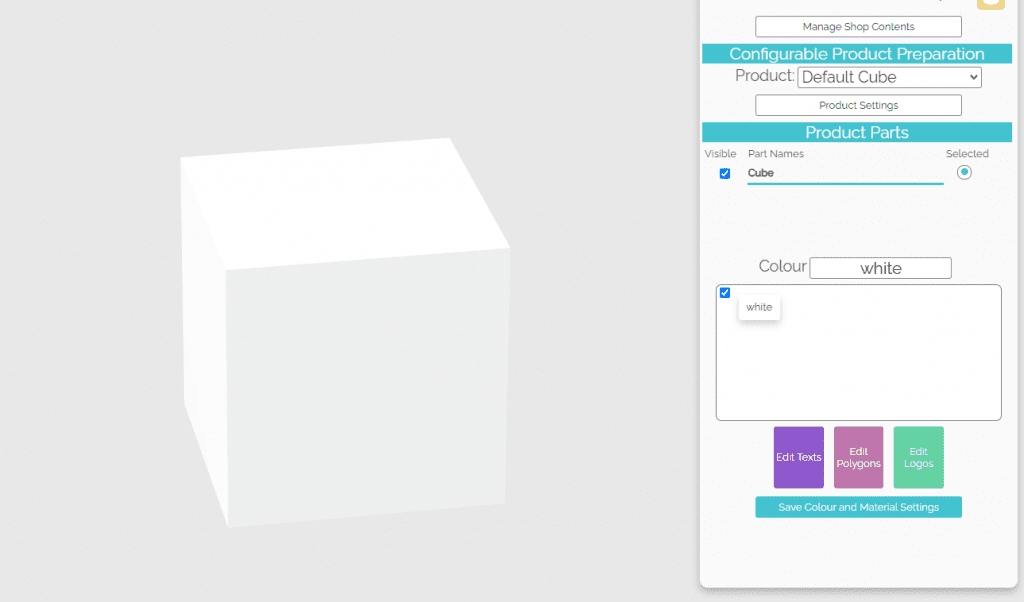
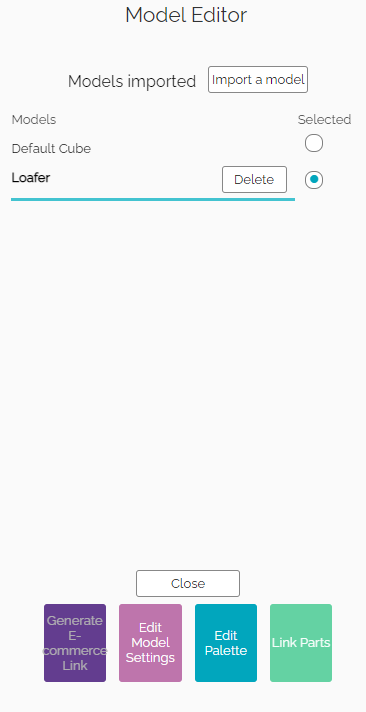
- The new model should now be loaded into OPCS:

Editing the model’s settings
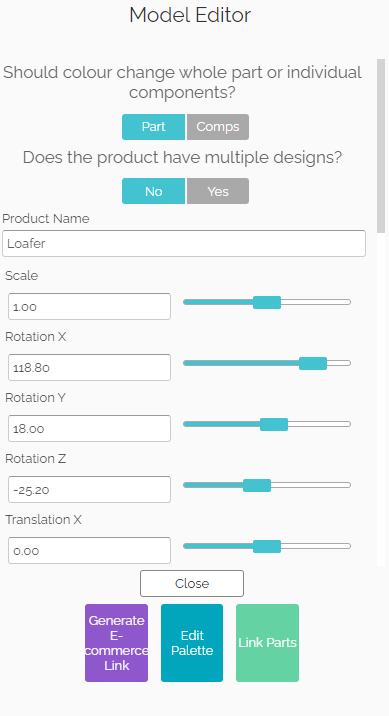
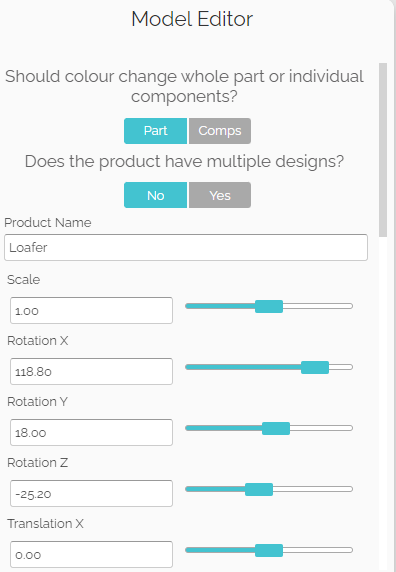
- Click on the Product Settings button in Main Panel:

Setting the ideal viewing position
Models imported at unideal angles can be rotated and transformed using the Model Editing Panel. The angle you set will be the angle your customers see this model from, therefore it is important to set a suitable initial viewing transform and rotation. The most important parameters here are Rotation, Translation, Eye Distance and Eye Angle Distance.
Rotation
X, Y, Z: X, Y and Z rotation around the centre point. The sliders move from -180 to 180 degrees, and finer rotation can be done using the text boxes provided. The ideal rotation for the LoaferV4 is (120, 20, -30).
Translation
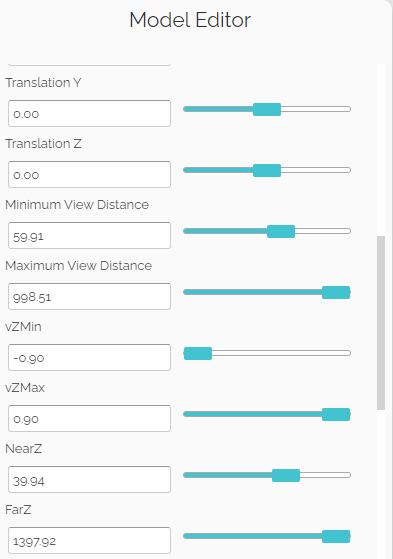
X, Y, Z: Translation can be finely tuned in each axis to place the model in the centre of the screen. The sliders move from -5 to 5, and finer translation can be done using the text boxes provided.
Scale
Scale determines the size of the model. The slider moves from 0 to 10, 1 being relative to the initial size, and finer adjustments can be made using the textbox provided.
Minimum and Maximum View Distance
Controls how far forwards and backwards the model can be moved. Works in conjunction with Near and FarZ.
Near and Far Z
Controls the points at which the model will start to clip. Works in conjunction with Minimum and Maximum View Distance.
Background Colour
Changes the colour of the background based on RGB (Red, Blue, Green) values set between 0 and 255 or by the colour selector located to the right of the RGB text boxes.
Setting the ideal lighting
The lighting settings for the model can be adjusted to help give a more accurate representation of how it would look in real life. This can help colours and textures show more clearly and make the product’s reflection more realistic.
Ambient Strength
Controls the intensity of the lighting colour. The slider moves from 0 to 1, and finer adjustments can be made using the textbox provided.
Diffuse Strength
Controls how bright the lighting is. The slider moves from 0 to 1, and finer adjustments can be made using the textbox provided.
Specular Strength
Controls how strong the spot of lighting being reflected is. The slider moves from 0 to 1, and finer adjustments can be made using the textbox provided.
Specular Exposure
Controls how shiny an object is. The slider moves from 0 to 100, and finer adjustments can be made using the textbox provided.
- Adjust the above values for your product:
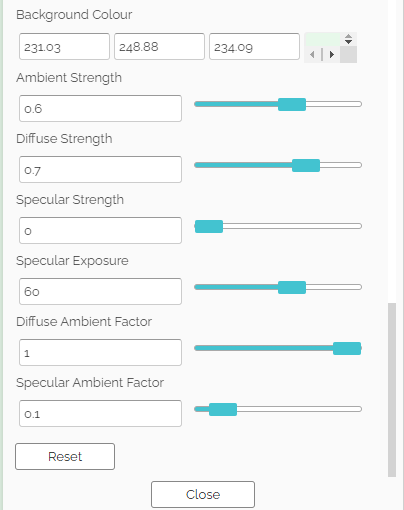
- If needed, the Reset button will return all your settings as they were when initially imported.
- Press the Close button to save your settings
Creating a Colour Palette
- Click the Manage Shop Contents button in the main panel, then Edit Colour Palettes.


- Here you can Add/Edit the default colour palettes and Import Palettes:
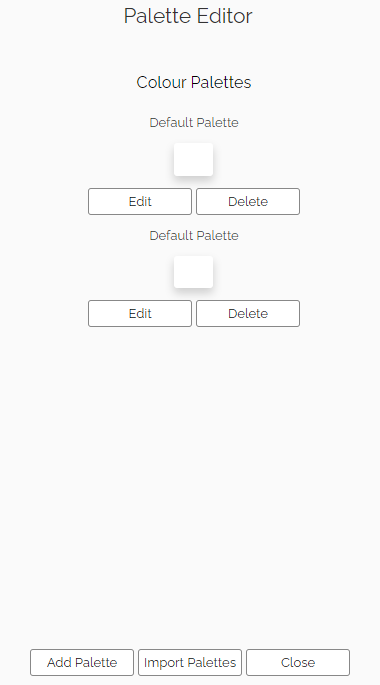
- To add a new palette, click the Add Palette button at the bottom:

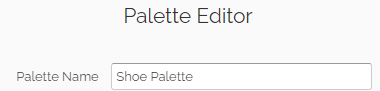
- Click the Edit button to then edit the palette:

- Here you can edit the name of the palette and its colours. Let’s first give the palette a more descriptive name by typing Shoe Palette in the textbox:
- Now let’s add some colours. To add a new colour, click the Add Colour button at the bottom:

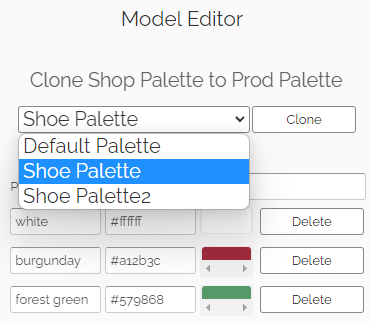
- If you enter a random hex code such as #a12b3c into the textbox, the colour will update:
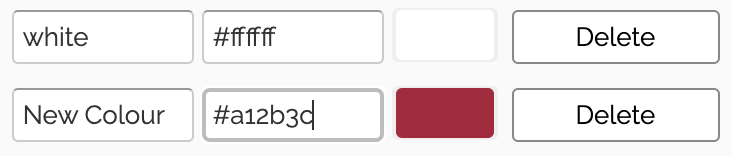
- Alternatively, you can click the colourful square to use a colour picker to change the colour:

- When you’re happy with the colour, you can then change the name from New Colour to something more descriptive:
- Please note that colours cannot work as intended when they share names.
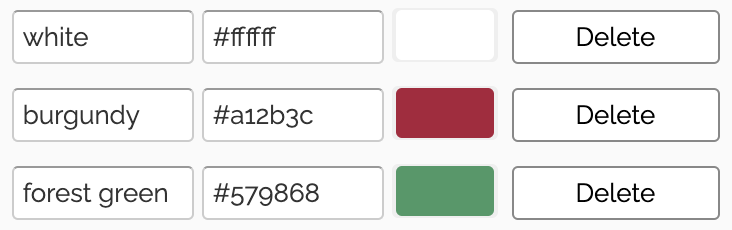
- When you’ve finished adding colours to your palette, you can return to the main panel and see your new colours in the colour selector section:
- To Import Palettes, click the Import Palettes button at the bottom of the Palette Editor Panel:

- You will be presented with the Default Palette, Book Palette and Shoe Palette:
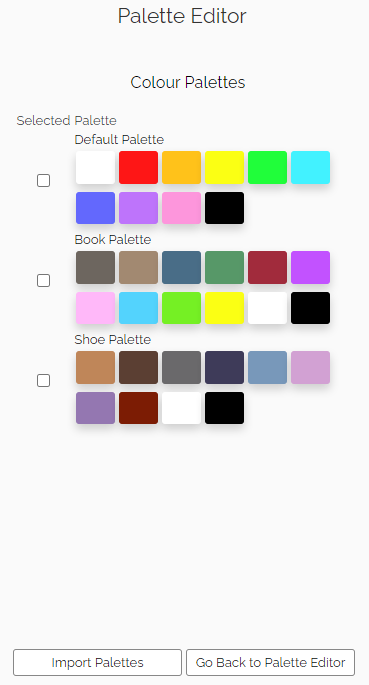
- Select your desired Palette, for example, Shoe Palette then click Import Palettes:

- When you’ve finished adding colours to your palette or importing a palette, you can return to the main panel
- Now that you’ve made your palette, let’s set the product to use it!
- Select Manage Shop Contents in the Main Panel:

- Select Manage All Models:
- Select the Shoe model, then click Edit Palette:
- Choose the Palette you created and the colours you added:
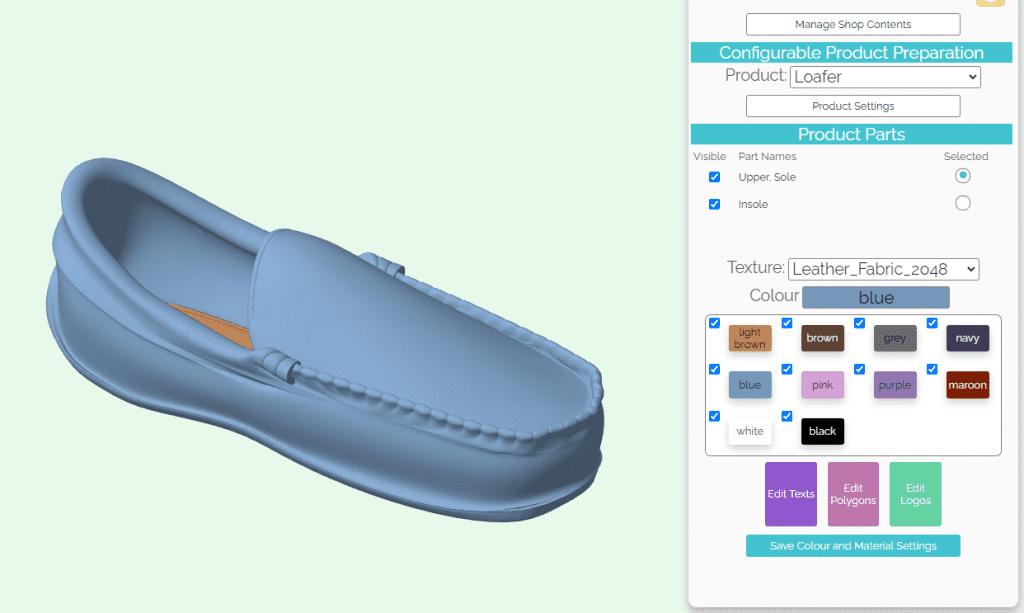
- You should now be able to see your new colours in the colour selector section:
- You’ll now be able to use these colours to configure your product by selecting the part and then the desired colour:
- Multiple colour palettes can be made on a single account for use with multiple products, though it is not possible to use multiple palettes on a single product. This is where a feature called Colour Masking will come in handy.
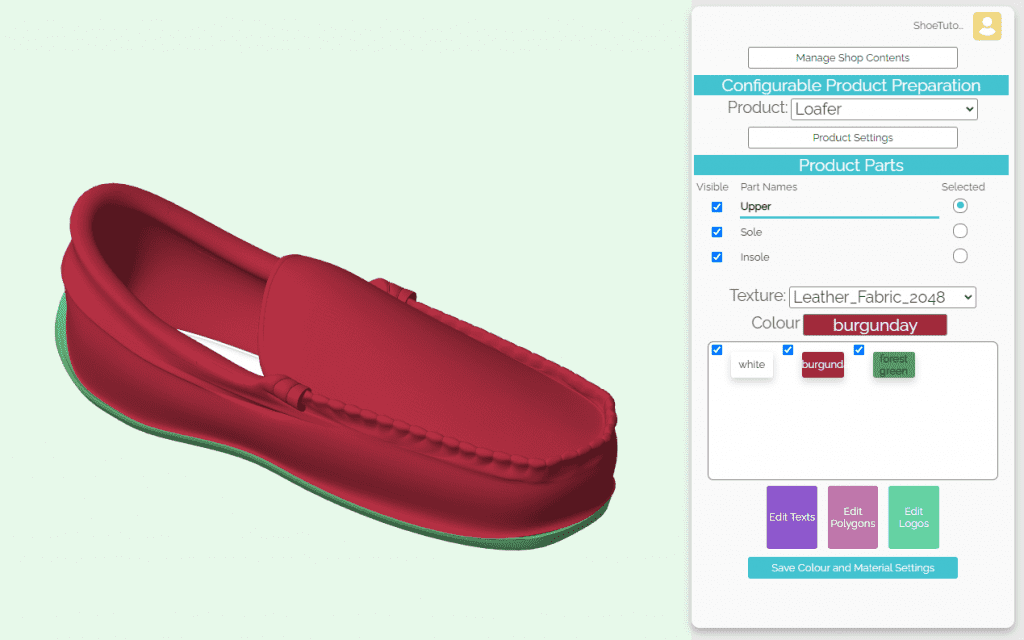
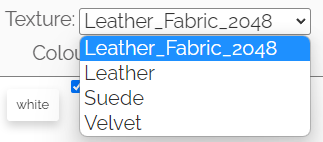
Changing Textures
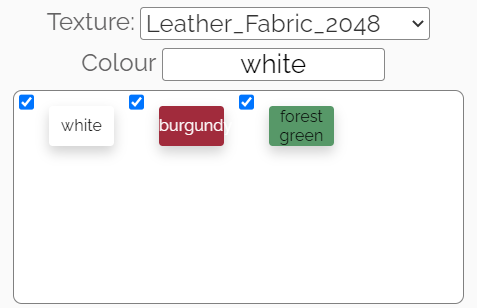
- As you may see, the Shoe currently has a leather texture, however you may want to sell a suede shoe. Using the texture Listbox, it is possible to change the visible texture of each part.
Colour Masking
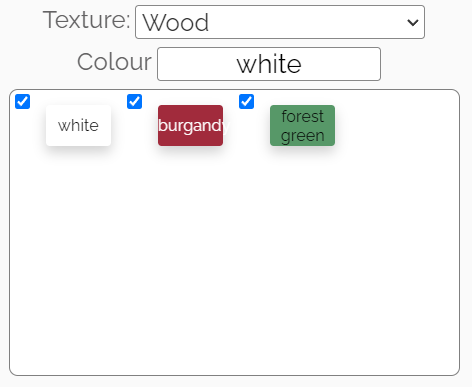
- A subscriber may not want every colour in the palette to be available for each part, this is where colour masking comes in.
- To select or deselect colours for each part, select the part and then check or uncheck the boxes by each colour to allow use. Colour Masking also has applications in the next three categories.
Creating Text
- To add text, first select Edit Texts:
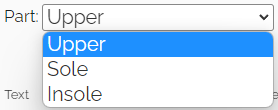
- To add text, ensure you are on the desired part (in this case “Upper”)
- Then click on the Edit Texts button to find the Text Panel. To add text, press the Add Text button located at the bottom of the page.
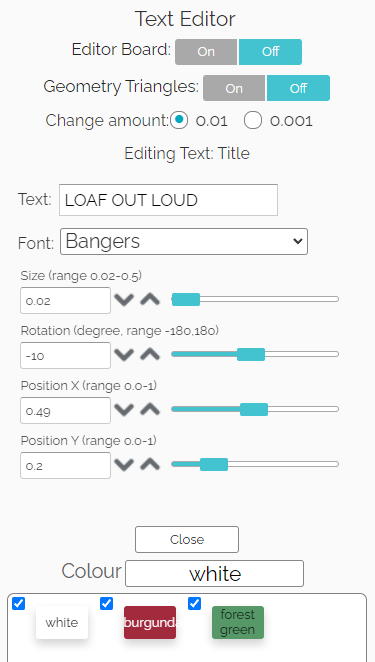
- The title is the name of the text that the Customer will see. Text is the text that will be displayed on the product.
- The font is the font used for the text.
- Take note of the following settings, as they are also used in other “Edit…” panels.
- Size is the scaling of the text. Rotation will rotate the text around its centre point. Position X and Position Y will move the text around the selected part.
- After creating new texts, setting them correctly (Use: Text: Loaf Out Loud. Font: Bangers. Size: 0.025. Rotation:0. Position X: 0.5. Position Y: 0.21) and adjusting the colour masking, the front cover can look like this:
- It is possible to add text to any part.
Save Product’s default colour/material configuration
- To save your product’s default material and colour setting so it doesn’t appear to your customers as all white, click the Save Colour and Material Settings button at the bottom of the Main Panel:

Enable/Disable Hidden feature for customer configuration
- As a Subscriber, you have the option of whether you want polygons, logos and texts to be hidden by the Customer when configuring the product.
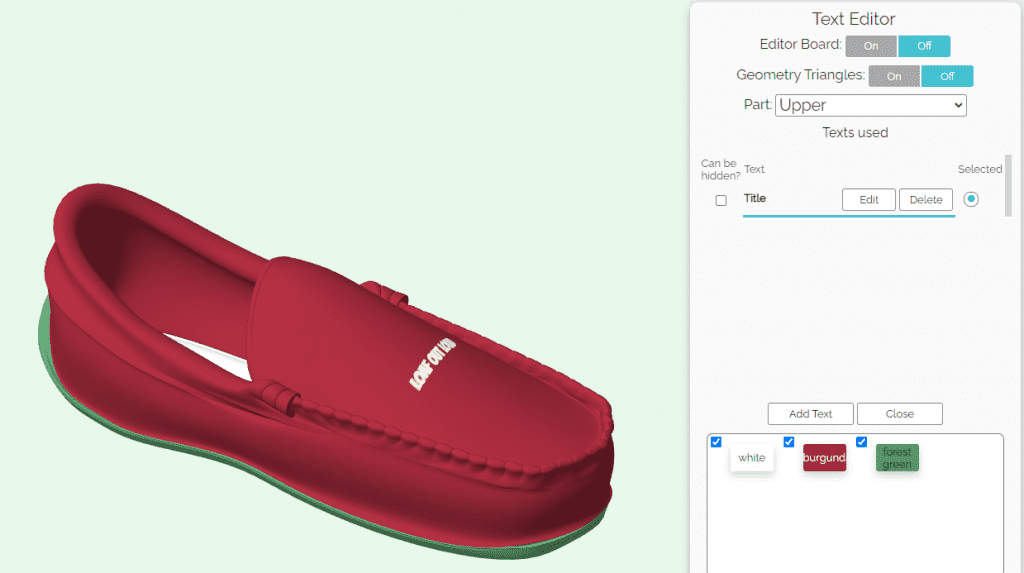
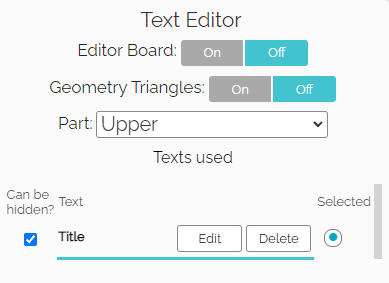
To do this, Click Edit Texts (which can also be done for logos/polygons), in the Main Panel:
- In the Text Editor menu, it will show the texts used.
As a Subscriber, you can have the option to enable/disable this for the customer when configuring:
Linking Parts Together For Configuration
- In the Main Panel, click Product Settings:
- Click Link Parts:
- You will be shown the Part Names of the Shoe, the bottom Linked Parts is what will be linked to the Linked Parts selected at the top.
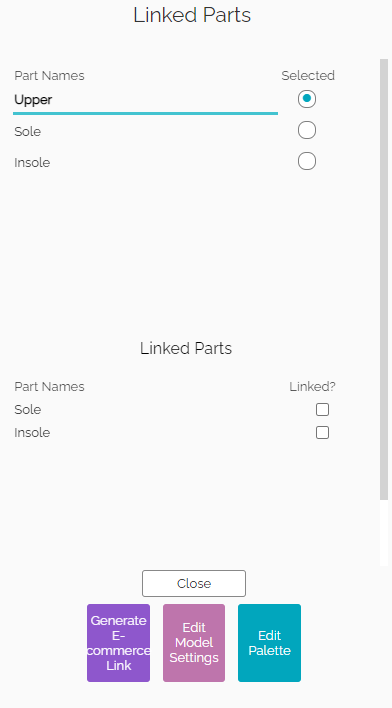
- For example, if you want the Upper to be the same colour as the Sole, you would select the Upper at the top and then select the Sole checkbox to link them together:
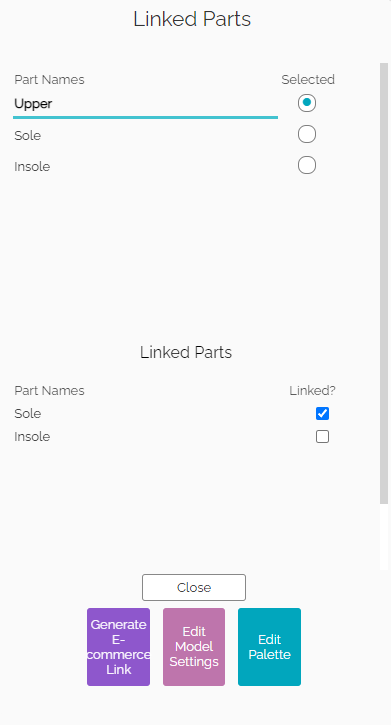
- After this step, click Close.
- As shown in the Main Panel, Product Parts, and the Part Names have the Sole and Upper together.
- We can now change the colour of the Shoe parts in one go.
Creating Polygons
- Custom shapes can also be added to products by clicking the Edit Polygons button.

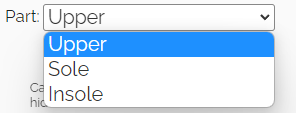
- For this tutorial, please ensure you have the Upper part selected first. Use the dropdown to select the part you want to add a Polygon to. In this case, the Upper:
- Polygons have the same editing process as Text, with a few exceptions including text and font. The main exception is the ability to create custom shapes through Coordinate Editing. To use this, set Edit Each Polygon to on.
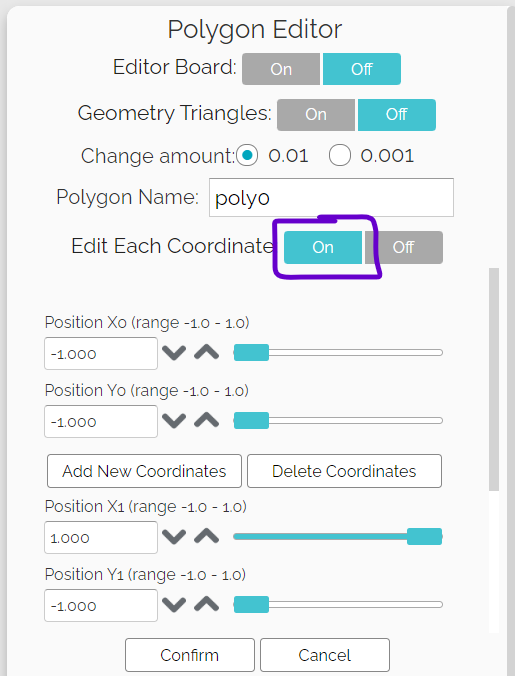
- Each coordinate can be placed in a position between (-1, -1), and (1, 1).
- If a new coordinate is needed in between 2 others, click the Add New Coordinates button.
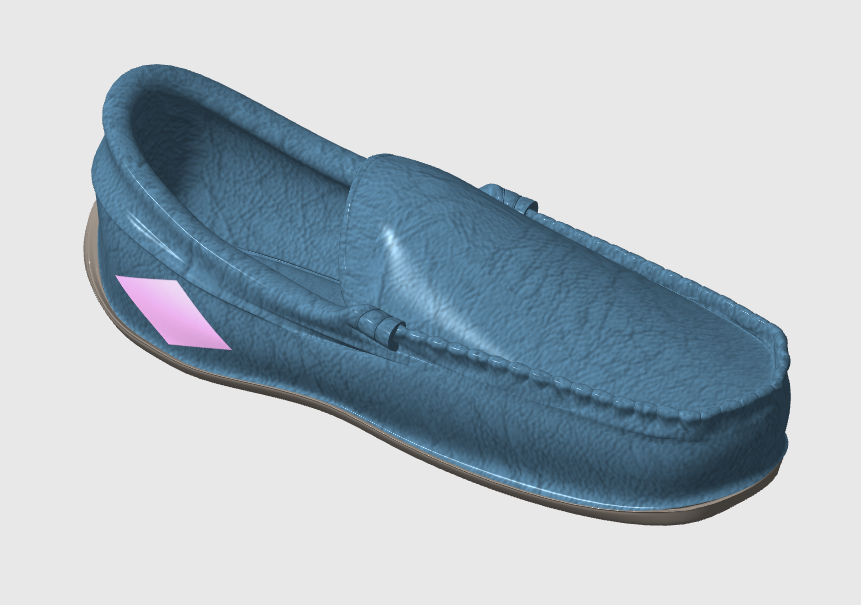
- For this exercise, we will make a diamond. This needs four coordinates with the values (0, 1), (-0.5, 0), (0, -1), and (0.5, 0).
- When created, scaled to 0.07 and placed in the coordinates (0.46, 0.48), it should look like this:
- Note that Colour Masking is also available here.
Creating Logos
- To create a logo, select Edit Logos.

- For this tutorial, please ensure you have the Upper part selected first. Use the dropdown to select the part you want to add a Polygon to. In this case, the Upper:
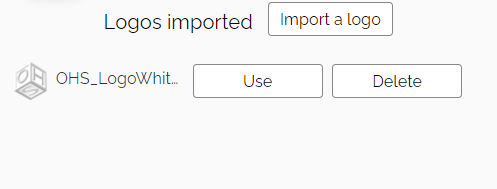
- From here, you will be able to upload PNG, JPG, and JPEG files using the Import a Logo button. Similarly to uploading the model, you will have to select the logo using a directory browser and import it. For this example, I will be using the Oakhouse Software logo. Once the image has been imported, it will show under the Logos imported header like this:
- Selecting Use will place it on the product, at which point you can scale, rotate, and move the logo. I want to put the logo inside the diamond, so I put in the exact coordinates as the diamond and scale it down until it looks like so:
- Note that colour masking is available for logos, tinting the colour of the logo with that colour. To keep a logo in its original hue, use white.
Generating an E-Commerce Link
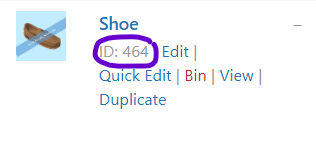
- This is how Subscribers can generate a link to include on their webpage that will direct customers to the configurator for their products. Using our own WordPress WooCommerce as an example, we have a product called Shoe:
- Click Manage Shop Contents, Manage All Models:
- In the Model Editor panel, click select the model, then Generate e-commerce link button for your product:
- In the Woocommerce Product ID textbox, enter the product ID for your product. This will update your link which you can then click to select:

- Copy the link using the Ctrl + C keys on Windows or Command + C keys on Mac and then press the Close button to save your changes
- This is the link you will add to the shopping/landing pages of your e-commerce website
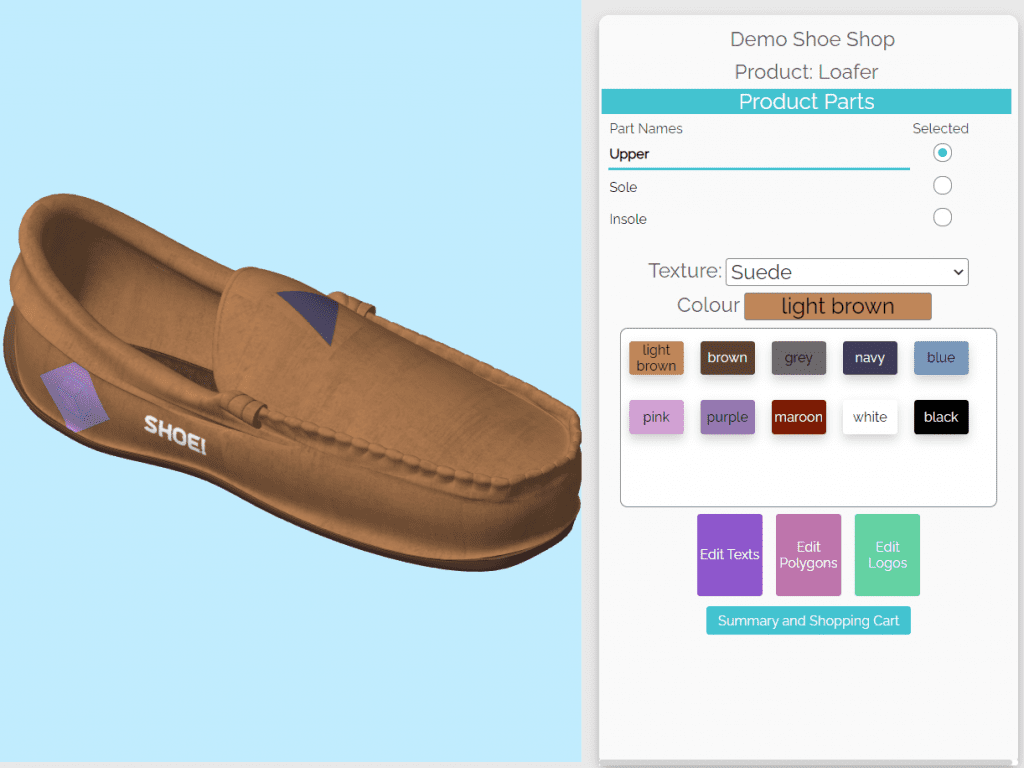
- Paste the link onto your browser’s address bar to check it’s working as expected. You should be greeted with the Shopper’s frontend and be able to see and configure your product:
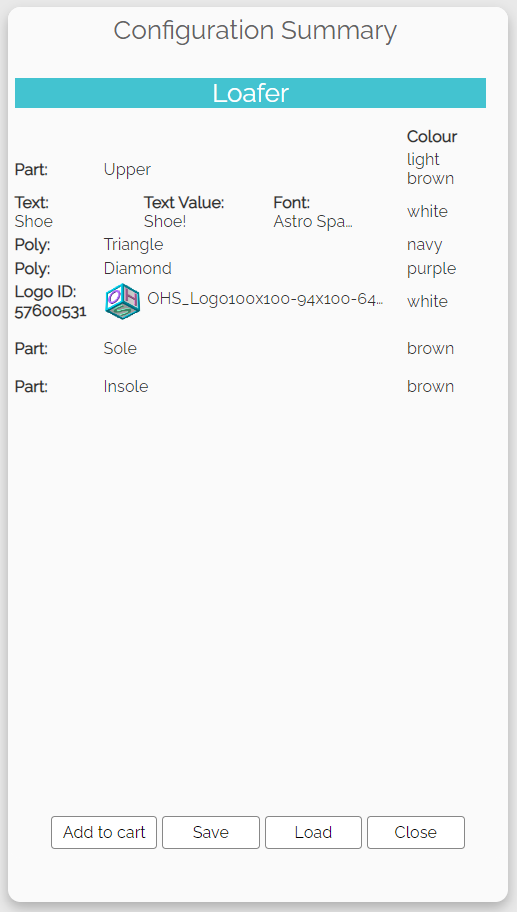
- Click the Summary and Shopping Cart button. You will then be able to view the configuration summary, save the current configuration, load a previous configuration, or add the product to the cart:
- When you’re happy with your configured product, click the Add to Cart button:
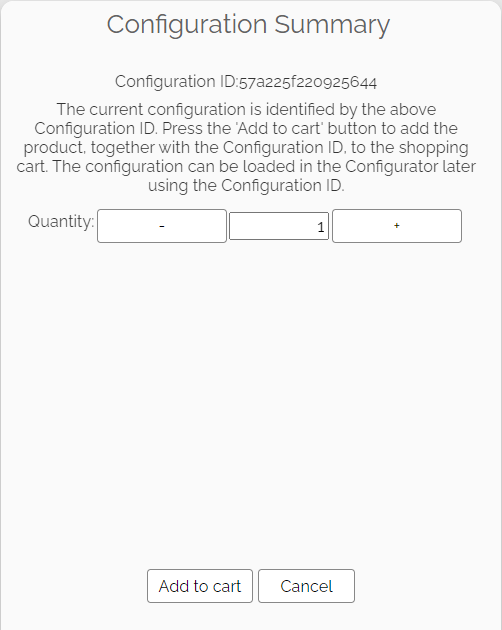
- Here you can increase/decrease the quantity of products you’d like to add to your basket. When you are happy, click Add to Cart again. This should redirect to your shop page and add the product to your basket:

Processing Customer Orders
- Go to your shopping/landing page where Customers click your product links
- Click the link for the product that’s in the order
- Click the Summary and Shopping Cart button

- Click the Load button

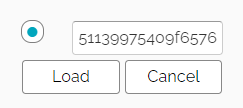
- Enter the ConfigId from the Customer’s order into the textbox at the bottom and click Load again:
- The customer’s configuration should now be loaded. Click the Summary and Shopping Cart button to view the product’s summary:
- Note down the part colour configuration details
- Assemble and dispatch the products to your customer